
Finding the perfect bangs can be such a struggle, especially for square-faced women who also wear glasses! They want to avoid anything too wide or harsh that will focus on the straight angles of your face.
Most square-faced women with glasses are looking for versatile, low-maintenance bangs that look amazing whether rocking cat-eye frames or chunky black specs that day.
If you are one of them, you can either soften up your face shape with long, sweeping bangs or break up the dimensions with some short, edgy fringe.
The right bangs can change your look instantly! Let me show you a few easy tricks to make those bangs beautiful for square faces and glasses!
Beautiful Bangs for Square-Faces with Glasses
Complement your square face in the best way with any of these styles of bangs and glasses!
1. Pixie with Long Thin Bangs
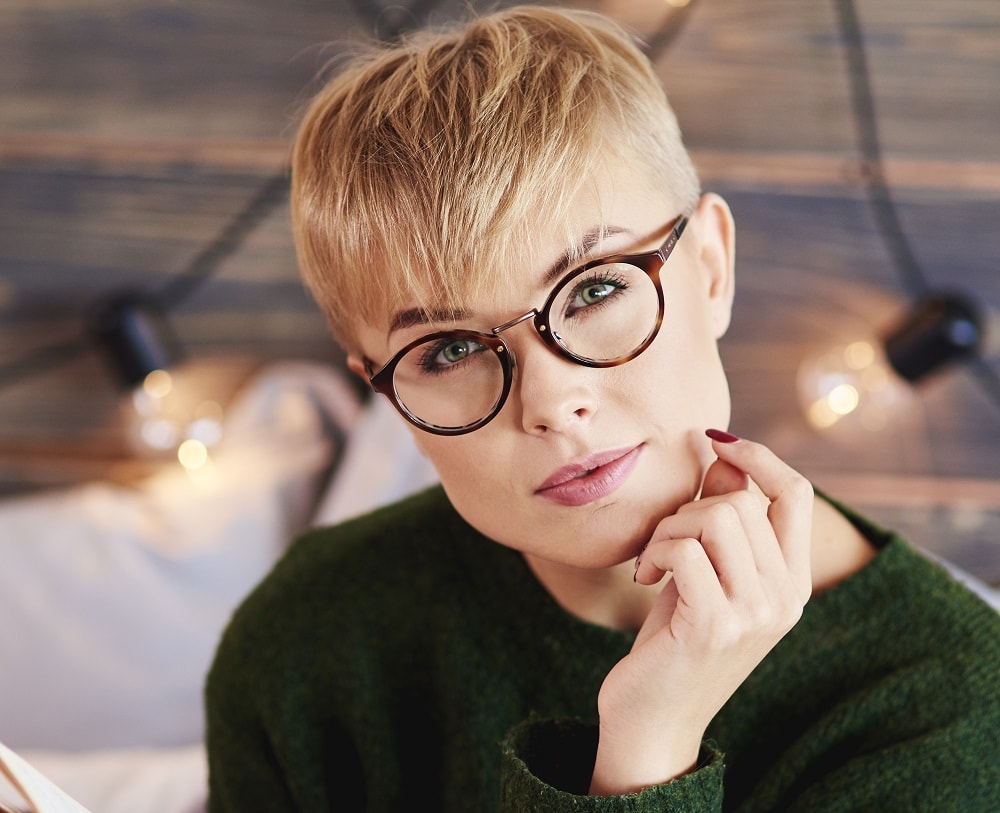

Many pixie cuts feature side swept bangs, but even a long bang works beautifully for short-haired women with square faces.
A layered bang looks elegant with thin hair and it also provides more shape and character for women wearing round glasses.
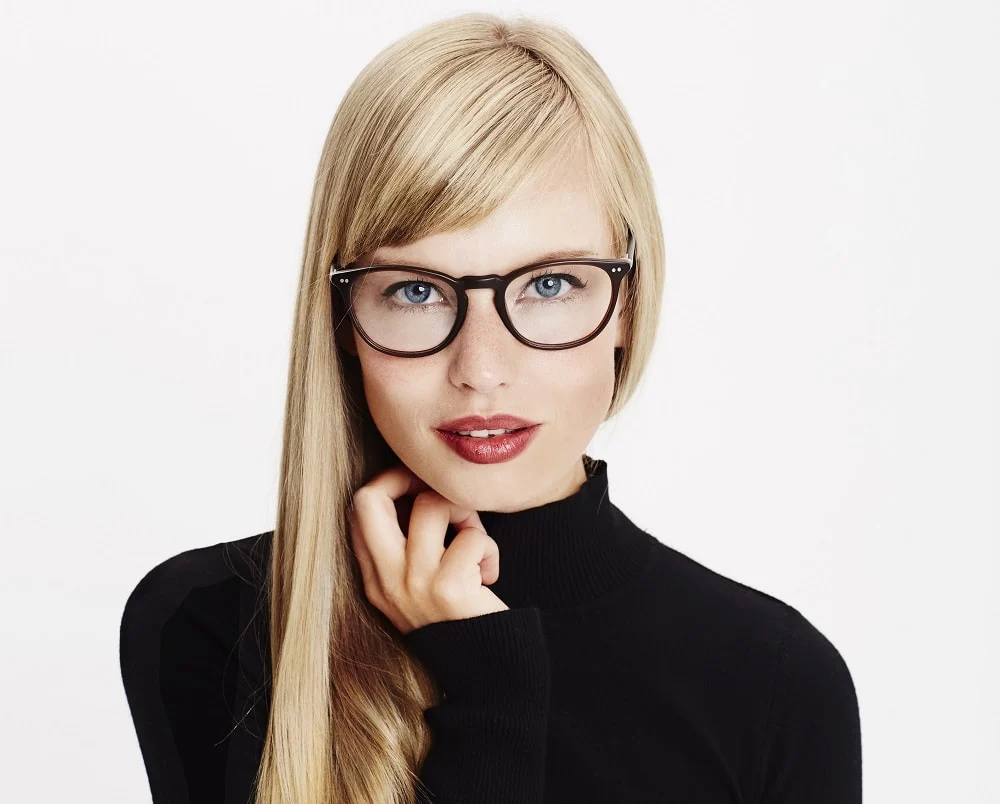
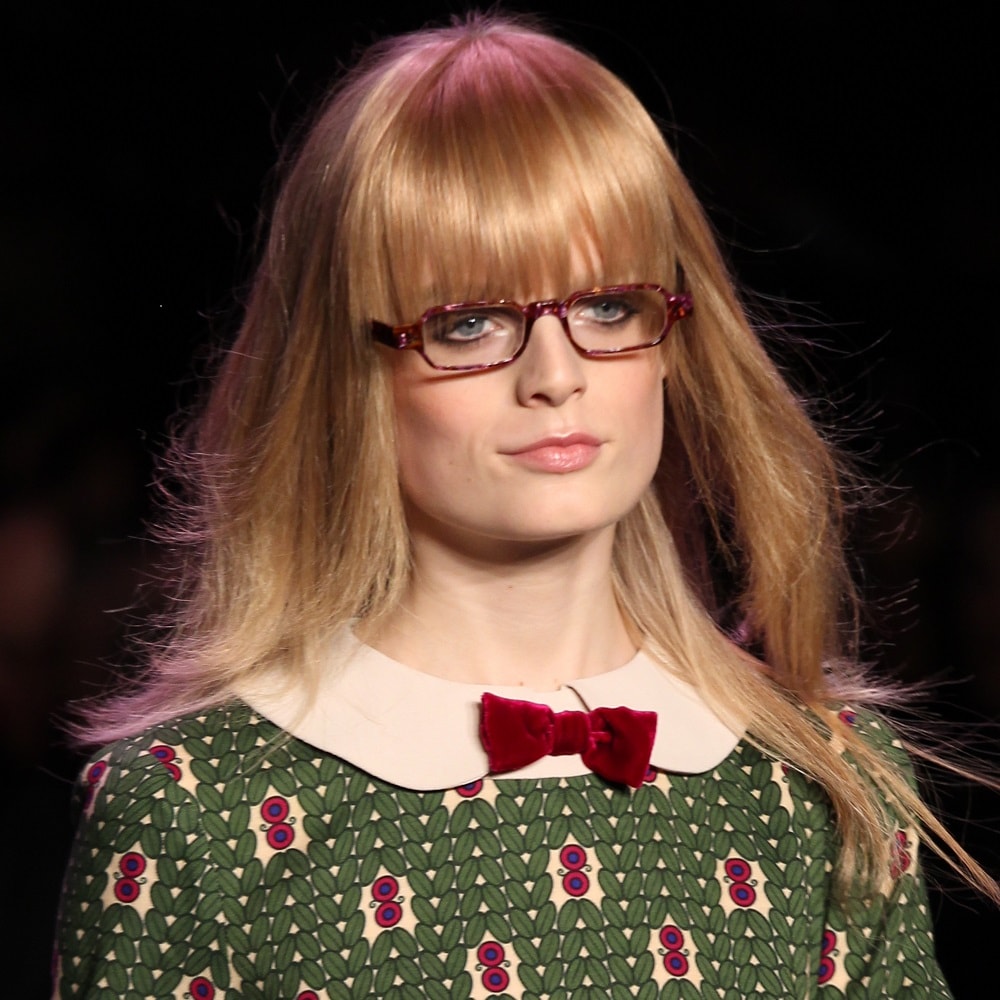
2. Long Hair with Thick Bangs


If you prefer keeping your hair long, this blonde hairstyle is perfect for a woman who has a square face and wears thick glasses.
In addition to adding face-framing layers to a long haircut, style the bangs so they’re thick with a blunt cut. You’ll want to be sure they cover your eyebrows for the best look with your glasses.
3. Bob with Blunt Bangs

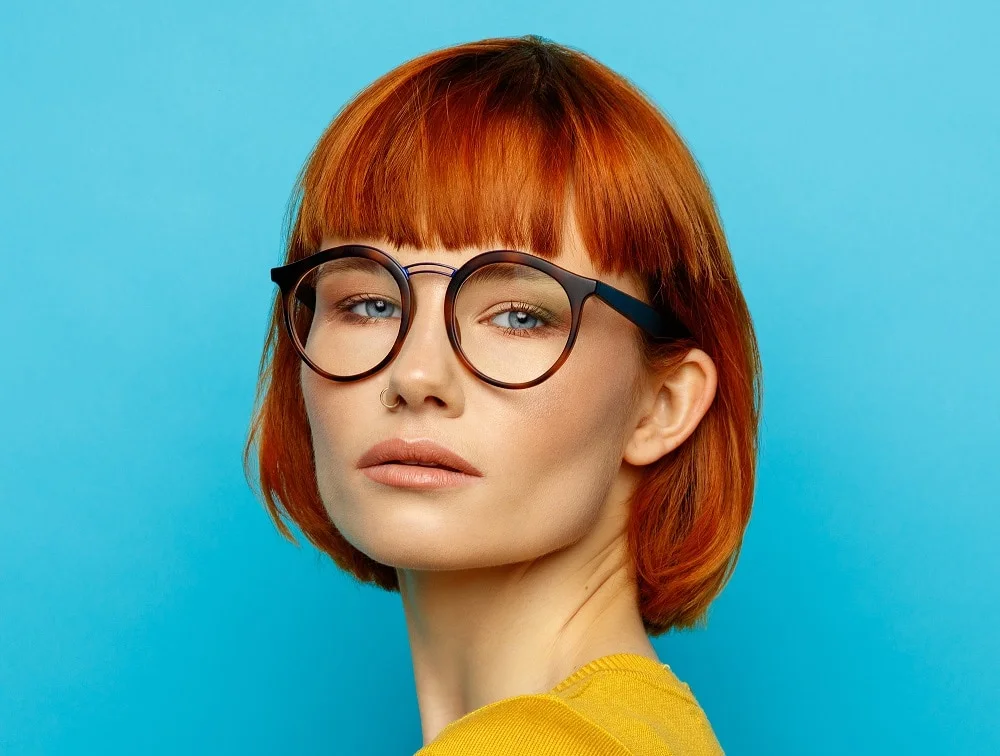
A small square face can easily pull off a fun bob. This one is styled not only with a bright eye-catching hair color but edgy bluntly cut bangs as well. The big round glasses complete the look.
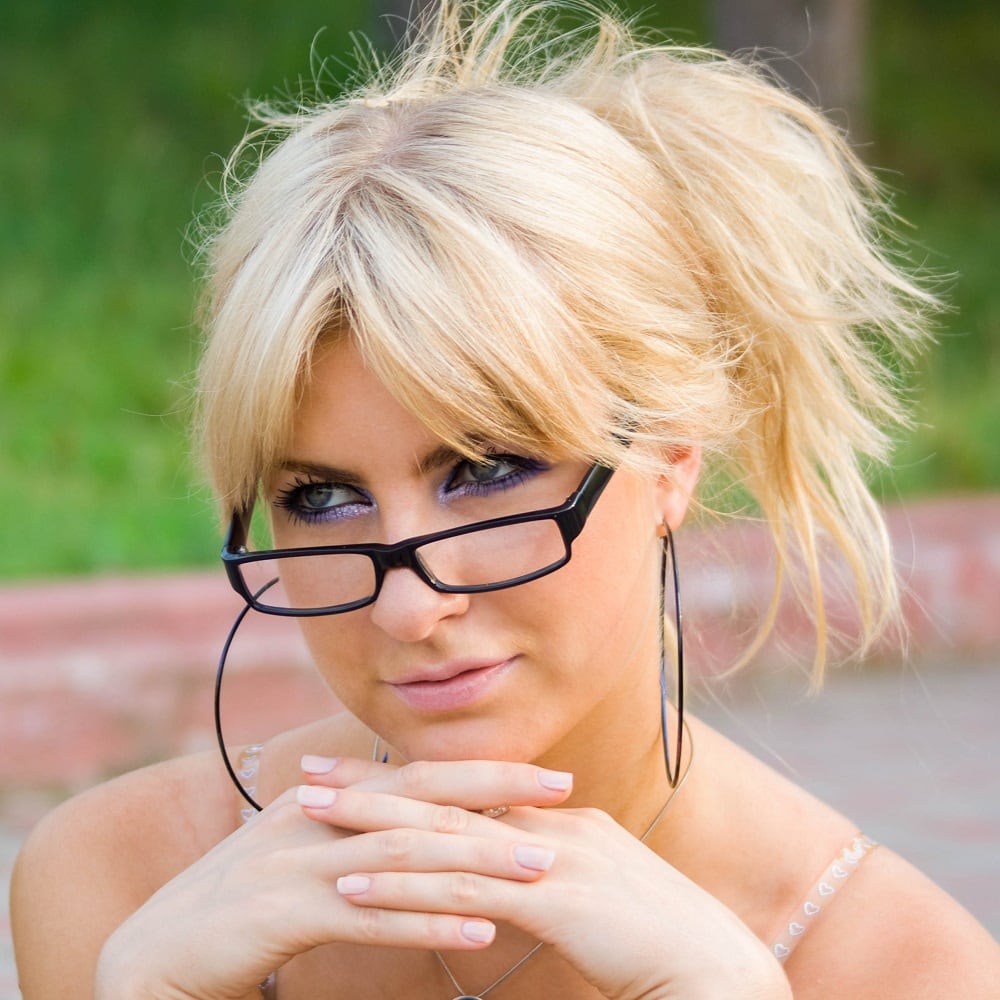
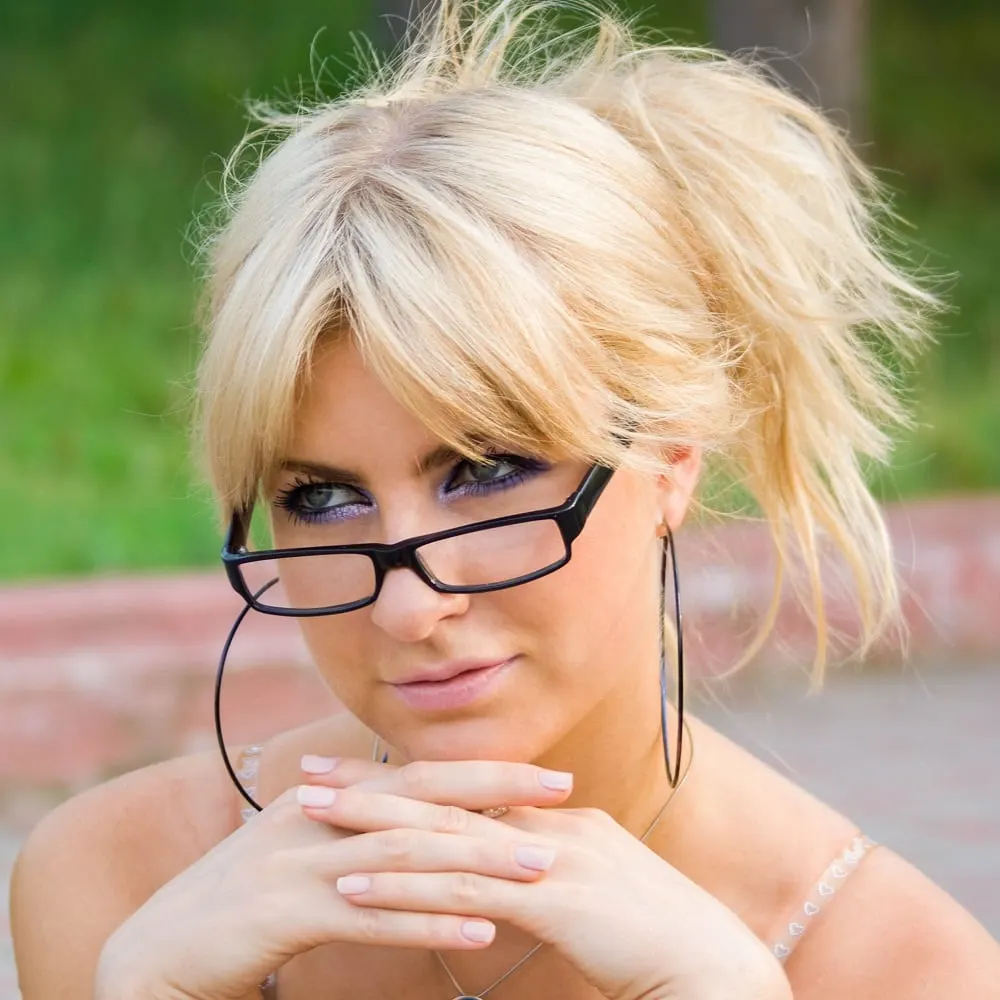
4. Updo with Thick Bangs

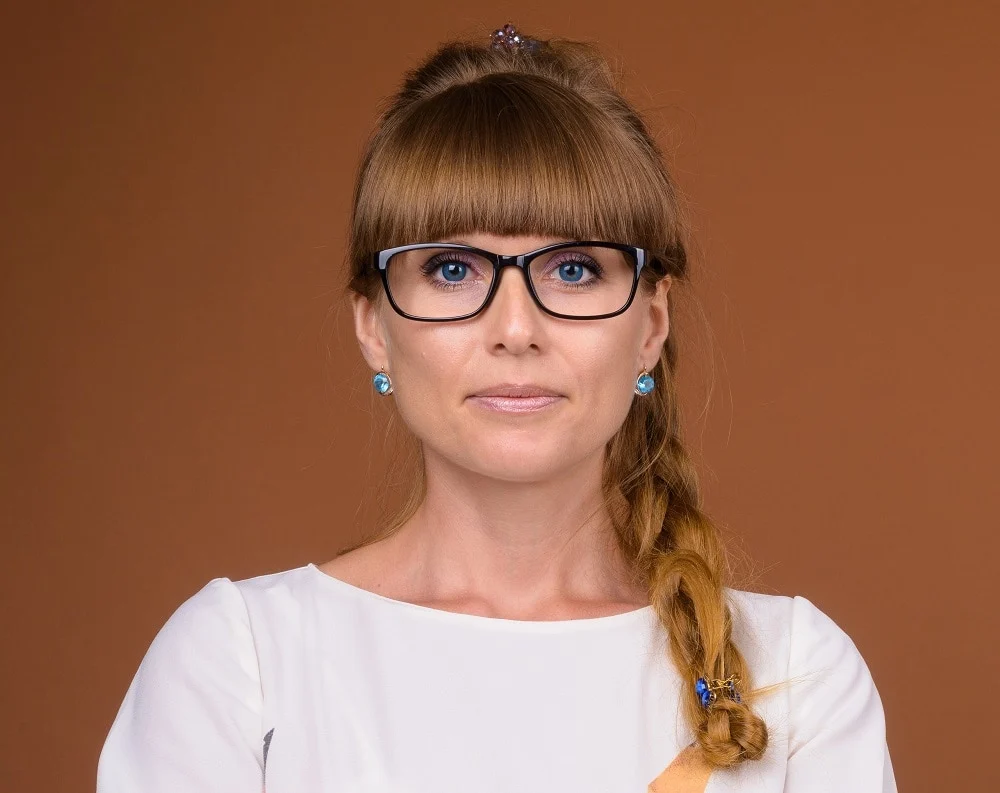
Instead of slicking back your hair into a braided ponytail, separate long thick bangs to soften the look. We love how they lead the way to chic black glasses.
5. Long Hair with Side Swept Bangs
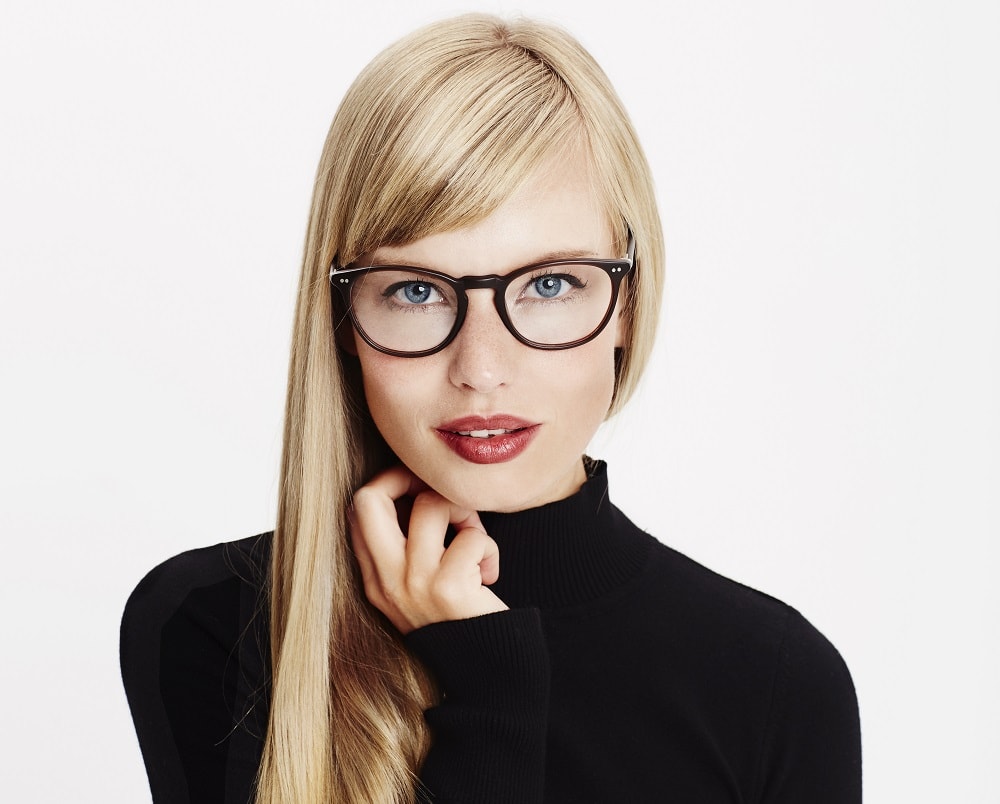
If you wear glasses and have long locks, part your hair off center and cut in a side-swept bang. The angled cut is flattering for a square face and will help any style of specs you wear stand out.
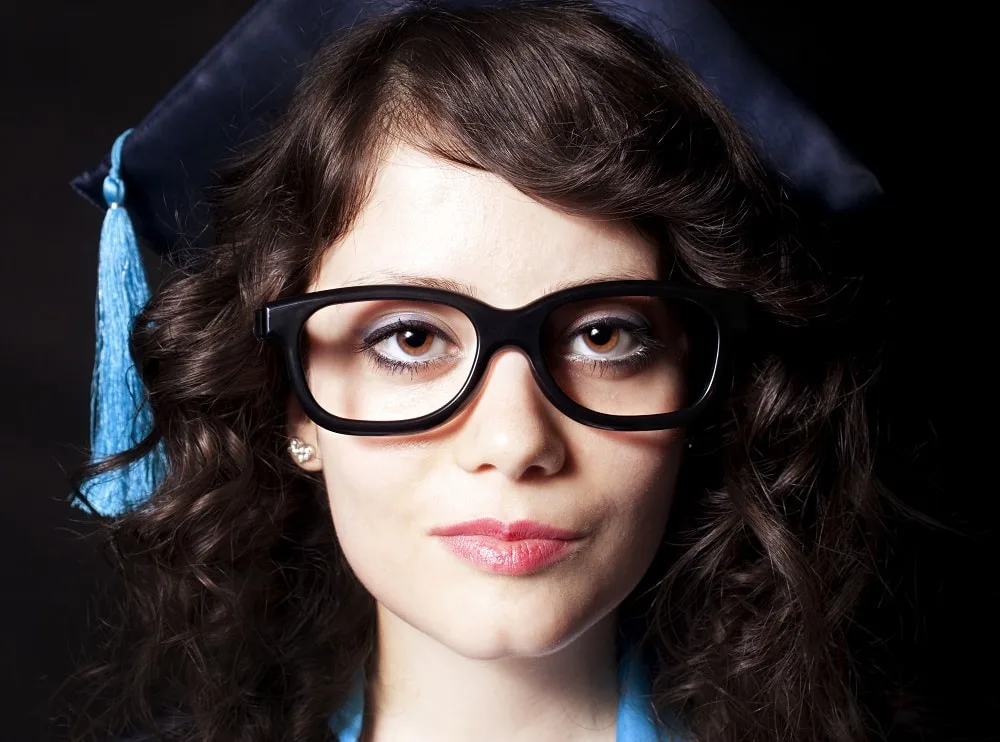
6. Long Curls
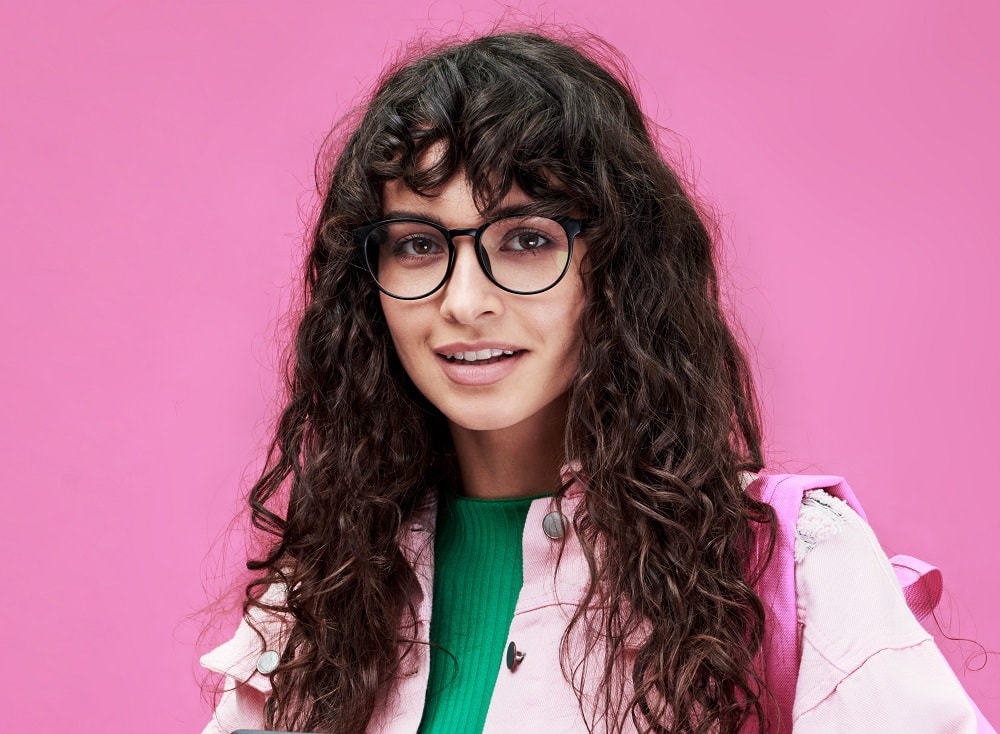

If you have naturally curly hair, you have great options for styling your bangs. Either wear them straight to contrast with your curls or keep them wavy. Enhance their shape with a little curl cream or mousse.
7. Afro Updo
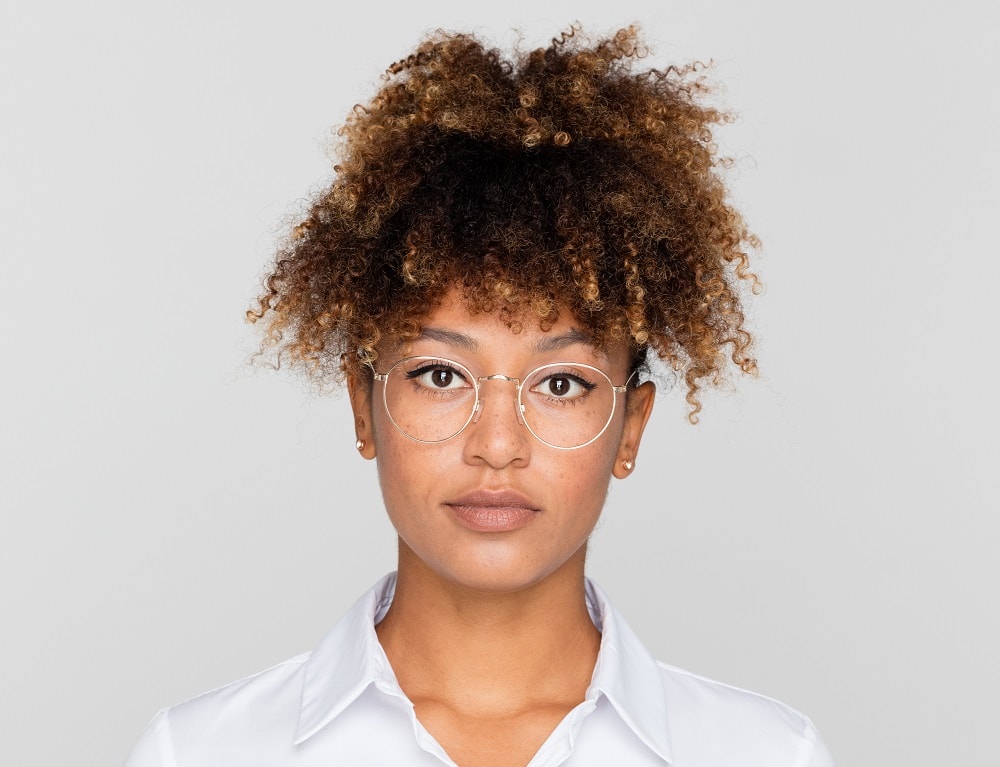

Is your hair afro-textured? Give your mane a break and leave it natural. Style it in a cute high ponytail with uneven bangs. This haircut is suitable for African-American women with square face and glasses.
8. Straight Silver Pixie


If your 2024 hair goal is a sleek modern haircut, we recommend a long layered pixie in shiny silver. Straighten it so it’s perfectly smooth and comb angled bangs to one side.
9. Shaggy Waves


If you’re lucky to have hair that already has natural texture, why not try a retro shaggy haircut with wavy bangs? These beauties are long and help to soften the angles of a square face.
10. Ponytail with Face-Framing Bangs


Short bluntly cut bangs that sit right above your eyebrows make an artistic statement paired with a simple ponytail or messy bun.
Work these bangs into face-framing layers to accentuate the long sides of your square face.
11. Wavy Hair with Side Part

For wavy hair, another way to switch up the dimension of a square face is by adding a side bang, like these wavy bangs that beautifully complement medium- to long curly hair and glasses.
12. Diagonally Cut

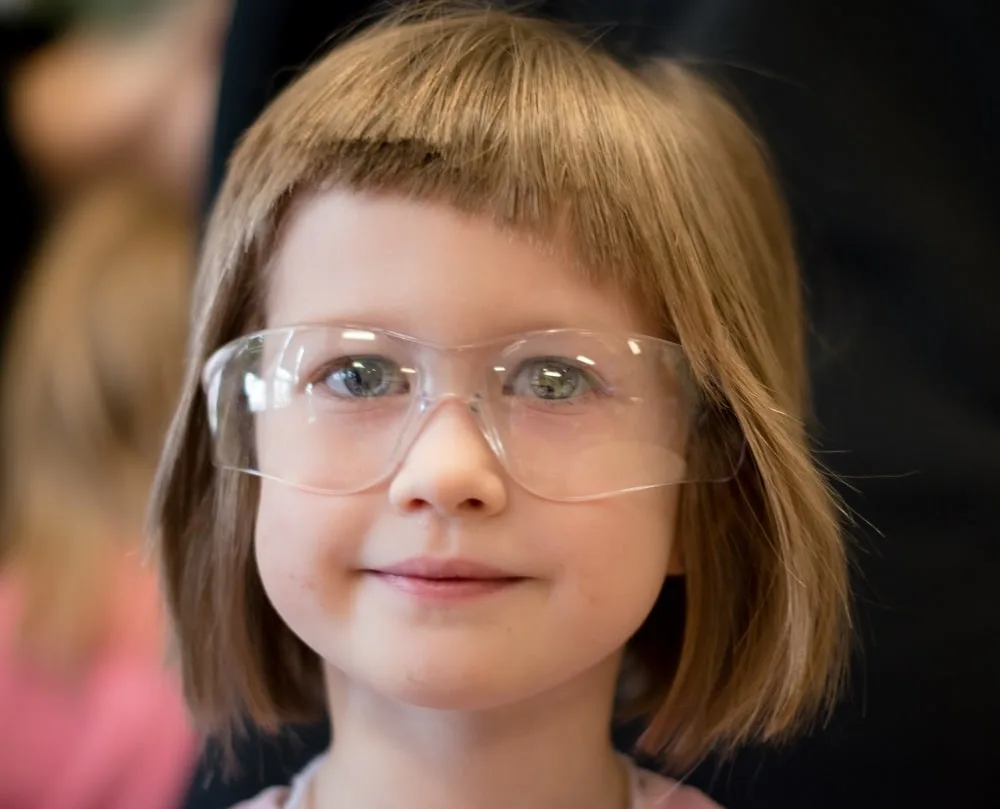
On a little girl’s short haircut, consider something totally unique and go for bangs that are diagonally cut. A square face shape will be less pronounced.
13. Bun Updo with Teased Bangs

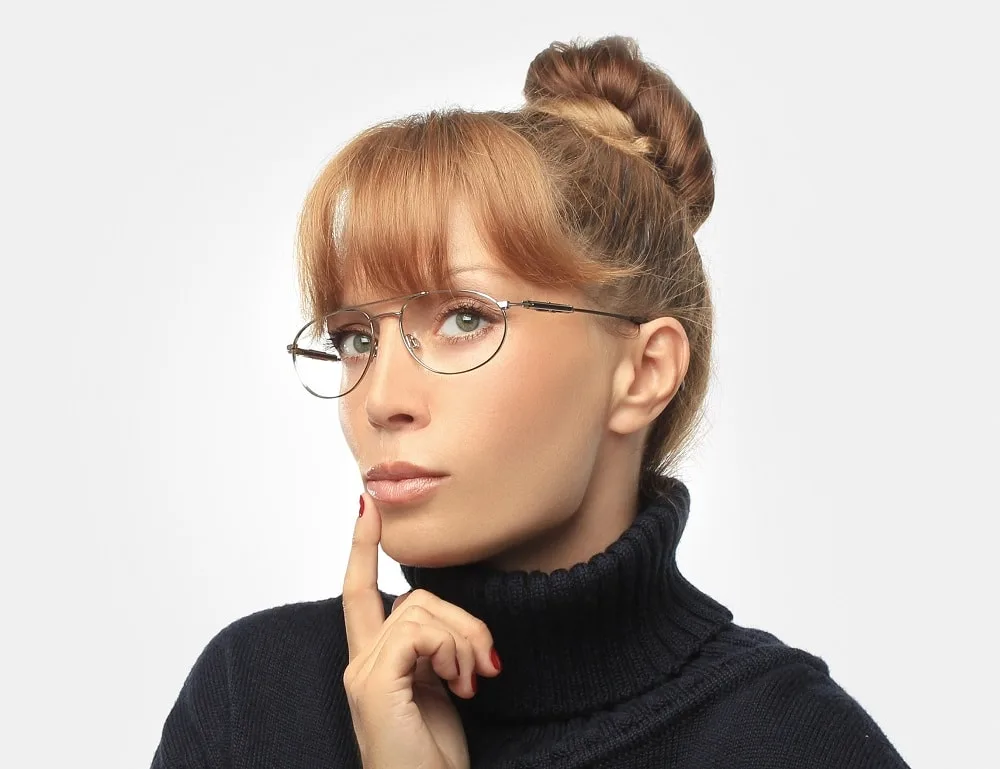
For a sophisticated, chic bun updo, the only answer is long teased bangs, which will fall gracefully over glasses. Use a blow dryer and a medium-sized round brush to create the shape.
14. Dramatic & Blunt


Whether your hair is naturally straight or you take a flat iron to it, make a dramatic statement with your hairstyle with these extra long bluntly-cut bangs.
Make a high ponytail or wear your hair down – you’ll look stunning either way.
15. Claw Updo with Curtain Fringe
Distract from a square face with a casual updo and soft curtain bangs that complement any glasses shape. It only takes a minute to make a low ponytail, twist it up, and secure it in place with a claw clip.
16. Long & Straight

For women who are trying to hide a wide forehead, extra-long straight bangs with glasses won’t let you down. Pair the glam fringe with long hair and face-framing layers.
17. Long Thin Bangs for Older Women


Even older women with a square face can pull off bangs. We suggest bangs that are long, thin, and somewhat piecey. This style is less harsh on the face. Shape them with a little mousse on your fingers.
The majority of hairstylists will agree that bangs are a great addition to a haircut for square-faced women who wear glasses.
We suggest taking an afternoon to experiment with a couple of different styles of bangs to find the one that you like best with your current haircut.